First steps with Deck.gl
Deck.gl from Uber is one of these cool libraries you may heard, you may even have looked at the examples, but not necessarily get hands dirty with it.
Let's change it.
What is Deck.gl for?
Well, you can do visualizations on maps (not necessarily on maps but I suppose this is primary purpose of this library).
What concept is important?
Layers. You can create many layers and each layer can show different things.
Can I use it with React?
Yes. It exposes a React component.
Can I use it without React?
Also yes. You dont' need React to use Deck.gl.
So...
Install:
npm install deck.gl
Import:
import { DeckGL } from '@deck.gl/react';
Layers for choose: https://deck.gl/docs/api-reference/layers
Using Deck.gl with React
Let's choose some layer, say ScatterplotLayer. Let's import it.
import { ScatterplotLayer } from '@deck.gl/layers';
And the rest of the code (like "draw the rest of the fucking owl" xD NOTE: this article is not meant to be a tutorial. They are just my first steps with Deck.gl but I decided to write about it because I thought it could be valuable for others).
Notice that coordinates are not pixels, but longitude and latitude.
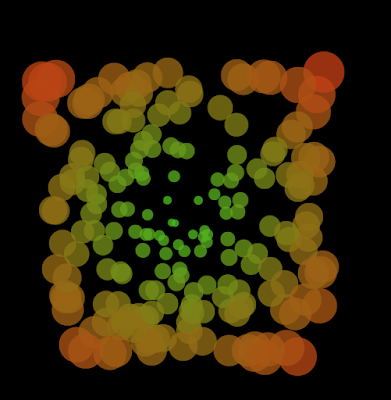
Final effect:
Using Deck.gl without React
(if you don't want to use React, you can read this: Using deck.gl without React. But what that docs won't tell you that you have to add canvas to DOM:
someContainerElement.appendChild(deckgl.canvas);
Weird fact: when I played first time with Deck.gl, I did it in "non-React way" (though I used React, I just created Deck imperatively within useEffect hook. And weird thing happened. Positioning was quite off. But I found out quickly that the reason was default styling from create-react-app, i.e. .App {
text-align: center;
}. So I removed it and it worked)


Comments
Post a Comment